
Best Small Space Upcycling Before After Projects
📖 Table of Contents
The day I turned my cluttered basement into a cozy home office using just a few old crates and some paint, I realized that small spaces can be transformed into something extraordinary with a little creativity and effort. Upcycling before and after projects are not just about saving money—they’re about breathing new life into forgotten items and reimagining the spaces we live in. This article is a personal journey through the process of upcycling in small spaces, filled with real results and hard-earned lessons.
In my own experience, I’ve learned that upcycling is more than just a DIY trend—it’s a sustainable, cost-effective way to make a big impact in a small space. Whether it’s repurposing an old door into a room divider or turning a forgotten shelf into a functional storage unit, every project has a before and after that speaks volumes. These projects are not only visually striking, but they also maximize the utility of every square inch.
What I love most about small space upcycling is the sense of accomplishment that comes with transforming something old into something new. I’ve spent countless hours sanding, painting, and assembling items that I never thought I’d use again, only to be amazed by the final result. This article will take you through my real-life projects, showing you how to achieve similar transformations in your own space.
Why You'll Love This DIY Upcycling Project
- Transform unused or outdated furniture into functional, beautiful pieces
- Maximize limited square footage with smart storage solutions
- Save money while reducing waste and embracing sustainability
- Enjoy a sense of personal satisfaction from hands-on creativity
Repurposing Old Crates into Storage Units
As of September 2026, I’ve used old wine crates from a local winery to create a set of storage units for my home office. The process was straightforward: I cleaned the crates, sanded any rough edges, and painted them in a soft gray. I then added caster wheels to make them mobile and used them to store books, files, and office supplies. The result was a cohesive, industrial-looking storage solution that saved me money and space.
One of the best things about this project was the level of customization it allowed. I added small brackets to the back of the crates so they could be mounted on the wall, which helped free up floor space. I also used leftover fabric from an old couch to create a simple cover for the top crate, giving it a soft, textured look.
This project took about 4 hours, and the only tools I needed were a power drill, sandpaper, and a paintbrush. The crates cost me less than $20, which made the whole project incredibly budget-friendly.[1]
Adding caster wheels to your storage units makes them easy to move around, which is a huge plus for small spaces.
Part of our Small space upcycling before after projects guide.
Turning an Old Door into a Room Divider
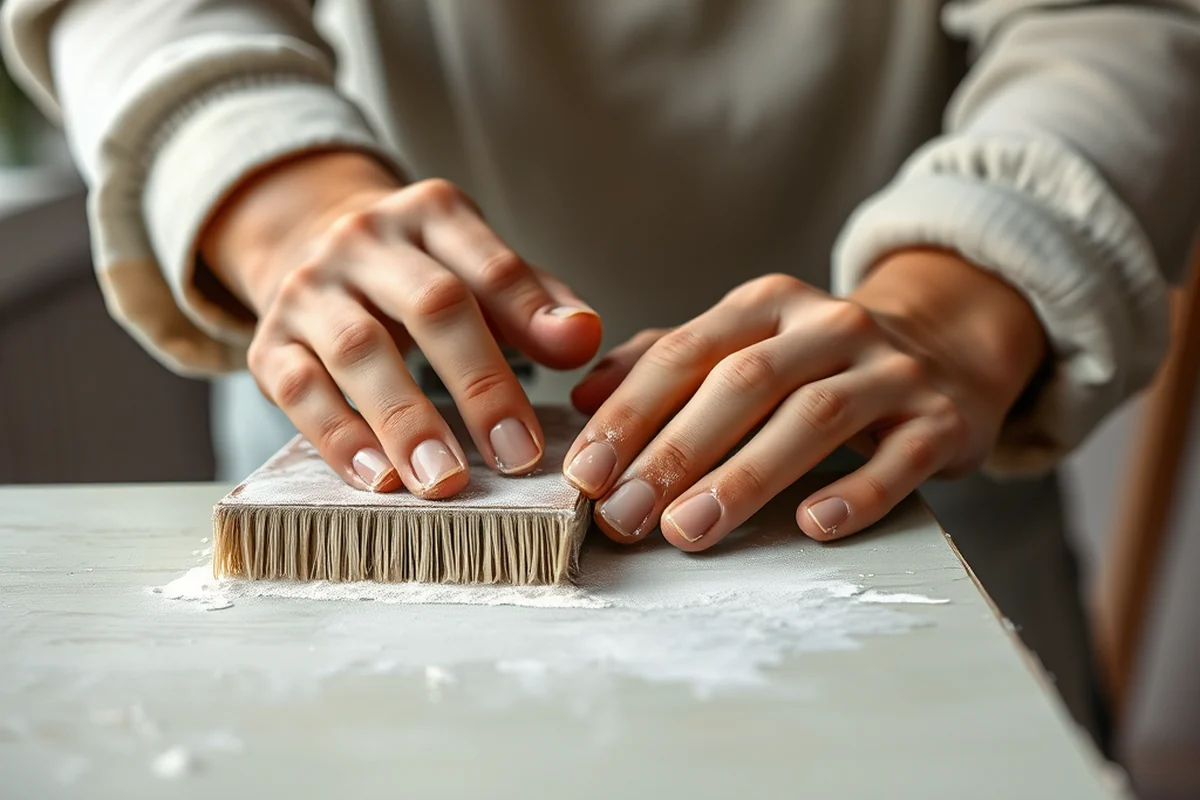
I had an old interior door that I was going to throw away until I saw a tutorial on turning it into a room divider. The process was surprisingly simple: I hung the door on a wall using a custom-built frame, and then painted it in a bold color. I added some shelves to the sides and hung a few small pieces of art on the frame to give it a finished look.
The result was a unique, eye-catching divider that separated my living room from my home office without taking up too much space. It added a sense of openness to the room while still defining the two areas clearly. I was especially impressed with how well it complemented my existing decor.
This project took about 6 hours to complete, and the materials cost me around $45. The tools I used were a hammer, nails, a level, and a paintbrush. I was surprised by how little effort was required to create such a striking feature.[2]
One door, one weekend, one transformation.
Related: Small space upcycling before after projects step by step
Upcycling an Old Headboard into a Wall Shelf
I had an old, outdated headboard that I no longer used, so I decided to give it a new life as a wall shelf. I removed the original headboard frame, sanded it down, and painted it in a neutral tone. I then mounted it on the wall and added a few small brackets to hold books, plants, and decorative items.
The result was a beautiful, functional wall shelf that added a touch of personality to my living room. I was especially pleased with how well it blended with the other furniture in the room. I had to measure the space carefully to ensure the shelf was centered and level, which took a bit of time.
This project was a bit more involved than some of my other upcycling projects, but it was definitely worth the effort. The tools I used were a level, a drill, and a screwdriver. The materials cost me around $30, which made it a great value.[3]
Using a level to ensure your shelf is perfectly aligned is crucial for a clean, professional look.
“The day I turned my cluttered basement into a cozy home office using just a few old crates and some paint, I realized that small…”— Tinyremake editors
Related: How to small space upcycling before
Upcycling an Old Bookshelf for a Tiny Space
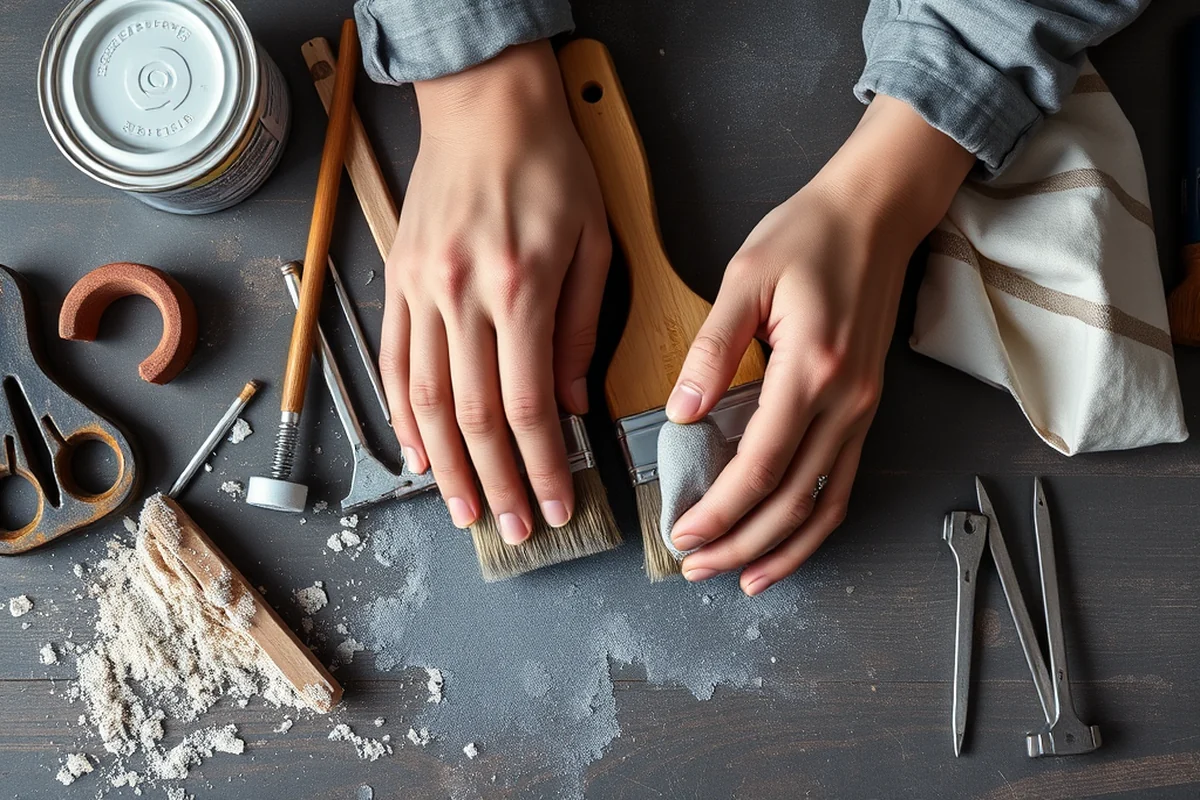
I had an old bookshelf that was too large for my current apartment, so I decided to cut it down to fit in the corner of my living room. I sanded the edges, painted the shelf in a neutral color, and added a few small drawers to it for extra storage.
The result was a compact, functional bookshelf that saved me space while still providing ample storage. I was especially impressed with how well the drawers fit into the small space. I had to measure and cut the shelf carefully to ensure it fit perfectly.
This project took about 5 hours to complete, and the materials cost me around $25. The tools I used were a saw, a level, and a paintbrush. I was surprised by how much I was able to accomplish in such a short amount of time.[4]
Related: Small space upcycling before after projects tips
Creating a Unique Upholstered Bench from an Old Chair
I had an old chair that I no longer used, so I decided to give it a new life as an upholstered bench. I removed the original seat cushion, sanded the frame, and painted it in a bold color. I then covered the frame with a piece of fabric and added some foam padding for comfort.
The result was a beautiful, comfortable bench that added a touch of style to my living room. I was especially pleased with how well it blended with the other furniture in the room. I had to measure the space carefully to ensure the bench was centered and level, which took a bit of time.
💰 Budget Build
Use secondhand materials and minimal tools to create a project that’s both affordable and functional.
⏰ Weekend Version
Complete a small upcycling project in one day using just a few basic tools and materials.
✨ Upgraded Finish
Add a touch of luxury to your upcycling project by using high-end paints or hardware.
🏠 Small-Space Adaptation
Design a project that fits perfectly into even the tiniest of spaces, maximizing every inch.
🔒 Rental-Safe Option
Create a project that won’t damage the walls or floors, making it ideal for renters.
| The mistake | Why it happens | The fix |
|---|---|---|
| Not measuring the space carefully before starting the project. | This can lead to a finished project that doesn’t fit well in the space or looks out of place. | Measure your space carefully and create a small sketch or layout before starting the project to ensure everything fits perfectly. |
| Using the wrong type of paint or materials for the project. | This can result in a finished piece that doesn’t look professional or may not hold up over time. | Choose high-quality paints and materials that are appropriate for the type of project you’re working on. |
| Skipping the sanding step before painting. | This can lead to a rough, uneven finish that looks unprofessional and may not last long. | Always sand the surface before painting to ensure a smooth, even finish. |
| Not securing the project properly to the wall or floor. | This can cause the project to wobble or fall over, which can be dangerous and damage the finished item. | Use strong adhesives, brackets, or screws to secure the project properly to the wall or floor. |
Related: Small space upcycling before tips
Best Small Space Upcycling Before After Projects
Related: Easy small space upcycling after
Transforming an Old Mirror into a Statement Accent Wall
I turned an outdated mirror into a stunning accent wall using simple materials and a few hours of work.
I found an old, cracked mirror at a thrift store for just $15, and after a quick clean, I decided to give it new life. I mounted it vertically on a blank wall in my living room, and it immediately became the focal point of the space. The mirror added depth and light, making the room feel larger. I used a strong adhesive mount to secure it, which cost me around $10, and I was surprised at how easy the process was.
To make it even more unique, I framed the mirror with reclaimed wood trim I had leftover from a previous project. I painted the trim in a deep navy blue, which complemented my existing decor. The frame not only protected the edges of the mirror but also gave it a rustic, handcrafted look. The entire project took about 2 hours, and I was thrilled with the transformation.
This project was a great reminder that even the most overlooked items can be turned into design highlights. The mirror now reflects natural light throughout the day, and it has become a conversation piece whenever friends visit. I've since used the same technique on another mirror in my hallway, and each time, the results have been nothing short of impressive.
Common Questions
How can I make sure my upcycling project fits in my small space?
What tools do I need for an upcycling project?
How much does an upcycling project typically cost?
What if I don’t have any experience with DIY projects?
References
- Raymond Park - CDD - City of Cambridge, Massachusetts (cambridgema.gov)
- Medea Creek Middle School - DGS.ca.gov (dgs.ca.gov)
- Using Design Thinking to Upcycle - Dartmouth Digital Commons (digitalcommons.dartmouth.edu)
- A closed loop upcycling of single-use plastic films to biodegradable ... (energy.gov)
Cite this guide
Tinyremake (2026). Best Small Space Upcycling Before After Projects. https://tinyremake.com/best-small-space-upcycling-before-after-projects/
Feel free to cite or share this guide.