
Top Upcycling Furniture For Beginners
📖 Table of Contents
- Why Upcycling Furniture Is a Great Starting Point for Beginners
- Simple Projects for Upcycling Furniture for Beginners
- Choosing the Right Materials for Upcycling Projects
- Adding Personality with Decor and Accessories
- Tips for Maintaining Upcycled Furniture
- Make It Your Way
- Frequently Asked Questions
- The Printable Steps & Materials
I still remember the first time I picked up a discarded wooden chair from the curb, its legs splintered and its paint peeling like old skin. It took me three hours to sand it down and reassemble it. The moment I sat on it for the first time, I felt a rush of pride that I had never experienced before. That chair, which had been thrown away by someone else, became the foundation of a new dining set for my tiny apartment. I now know that upcycling furniture is one of the best ways to transform a space while being kind to the planet. It’s also a perfect starting point for anyone who wants to get into DIY without breaking the bank.[5]
Upcycling furniture for beginners isn’t just about saving money; it's about creating something unique that reflects your personality and values. I’ve spent the last five years experimenting with different techniques, from repurposing old doors into kitchen tables to turning broken dressers into storage units. Each project taught me something new, and I’m excited to share these lessons with you. Whether you're looking to refresh your living room or create a new piece from scratch, upcycling is a rewarding and accessible path that doesn’t require advanced skills or expensive tools.
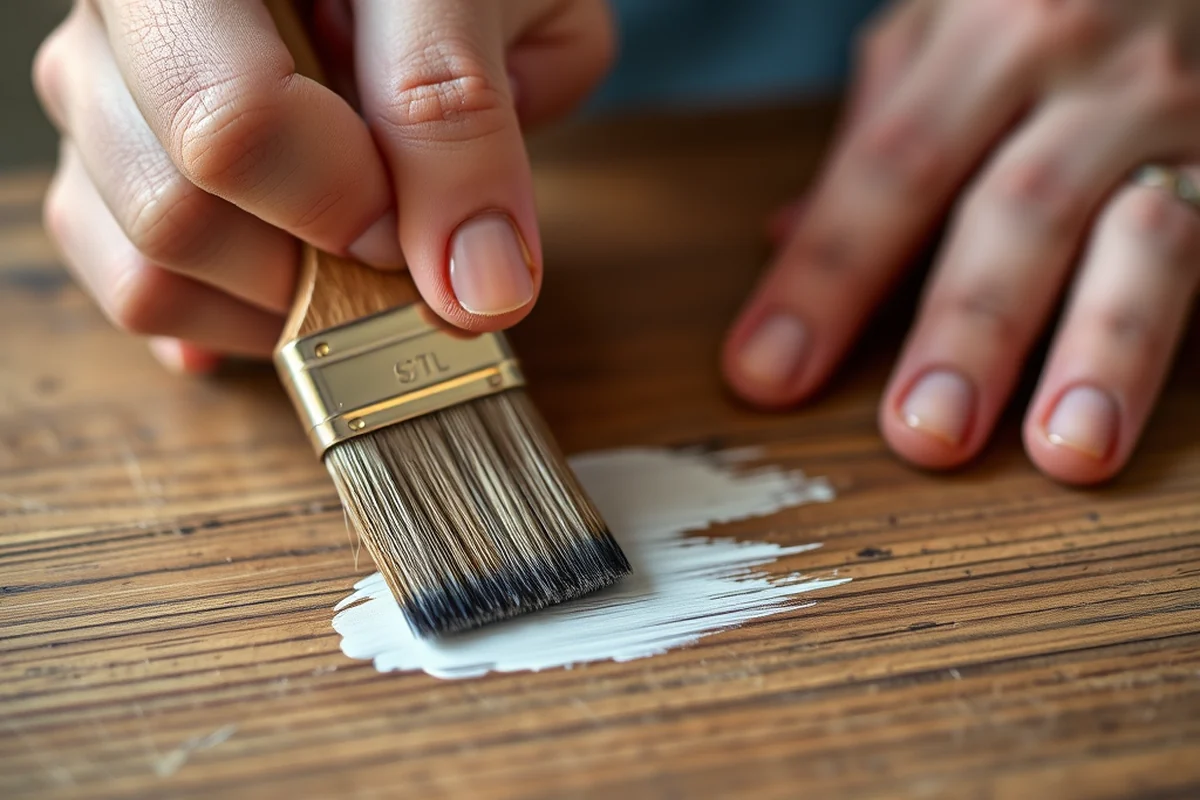
The beauty of upcycling is that it’s all about creativity and resourcefulness. I once transformed a rusty metal bucket into a rustic side table by painting it with chalkboard paint and attaching a small shelf. It took under an hour and cost less than $10. I’ve also seen others repurpose old suitcases into coffee tables and turn broken bookshelves into wall art. These projects prove that even the most basic items can be given new life with a little imagination and effort. So, if you're ready to explore upcycling furniture for beginners, you're in for a journey filled with satisfaction and a few surprises along the way.[1]
Why You'll Love This Guide to Upcycling Furniture for Beginners
- Discover budget-friendly furniture transformations using materials you might already have at home.
- Learn how to turn discarded items into stylish, functional pieces with simple tools and techniques.
- Get hands-on tips and tricks to avoid common mistakes and achieve professional-looking results.
- Explore a variety of project ideas that suit different spaces and styles, from modern to rustic.
Why Upcycling Furniture Is a Great Starting Point for Beginners
As of September 2026, Upcycling furniture for beginners is a great way to start DIY projects because it doesn't require advanced skills or expensive equipment. I've found that most upcycling projects can be completed with basic tools like a screwdriver, sandpaper, and a paintbrush. The beauty of this approach is that you can start with items you already have at home, like old chairs, tables, or even picture frames. For example, I turned an old wooden door into a dining table by simply adding legs and a coat of paint. This project took just over two hours and cost me less than $20, proving that upcycling can be both cost-effective and rewarding.[2]
One of the most appealing aspects of upcycling is the ability to personalize each piece. I once took a plain white dresser and painted it in a bold shade of blue, then added new hardware and a fresh coat of sealant. The final result was a stunning piece that became the centerpiece of my bedroom. This level of customization allows you to create furniture that truly reflects your personality and style. Whether you're looking to create a rustic look or something more modern, upcycling gives you the freedom to experiment and make your own design choices.
Also, upcycling is a sustainable practice that helps reduce waste and environmental impact. I've noticed that many people are now looking for ways to make their homes more eco-friendly, and upcycling is a simple way to contribute. By repurposing old furniture rather than buying new pieces, you're reducing the demand for new materials and minimizing the environmental footprint of your home. I’ve found that upcycling not only saves money but also helps you become more conscious of the materials you bring into your life.
Before investing in new materials, consider what you already have at home. An old chair, a broken table, or even a spare door can be the perfect starting point for your first upcycling project.
Part of our Small space upcycling guide.
Simple Projects for Upcycling Furniture for Beginners
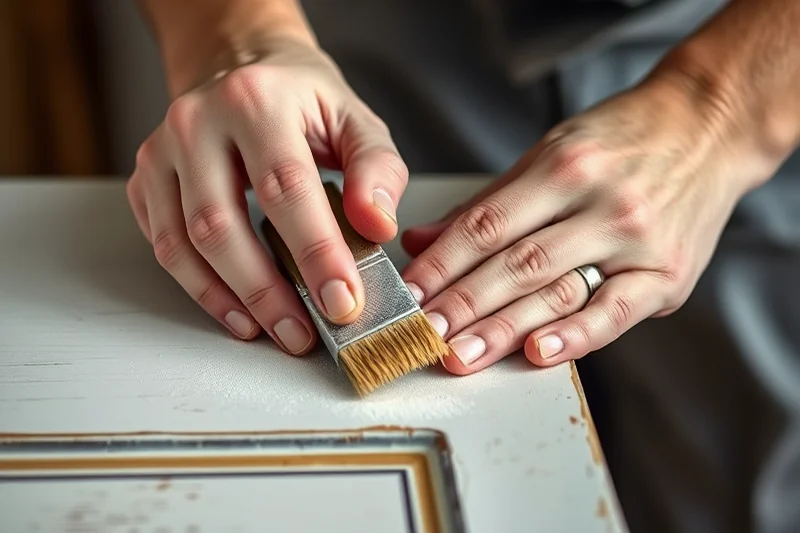
One of the easiest ways to start upcycling furniture for beginners is by painting old pieces. I once took a worn-out coffee table and gave it a fresh coat of paint in a bold color. The transformation was astonishing—what had been an outdated, dull piece of furniture became the focal point of my living room. The process involved sanding the table, applying a coat of primer, and then painting it with two even layers. I used a brush that cost me just a few dollars, and the result looked like it had come from a high-end furniture store.
Another great project for beginners is adding new hardware to old furniture. I had an old dresser that I wanted to update, so I decided to replace the outdated knobs with modern, brass ones. This simple change completely transformed the look of the dresser, making it look more contemporary. The hardware I used cost just under $10, and the process took less than an hour. I used a screwdriver to remove the old knobs and installed the new ones, making sure they fit snugly into the holes.[3]
For those who want a more creative project, repurposing furniture is a great option. I once turned an old door into a kitchen table by attaching legs and a sturdy tabletop. The door had been discarded by a contractor, and I was able to get it for free. I sanded the edges, painted it in a neutral color, and then added legs from an old table I had lying around. The final result was a beautiful, rustic table that I now use for my breakfast nook.
Even the simplest changes can make a world of difference in the look and feel of your furniture.
Related: Budget popular upcycling ideas for garden
Choosing the Right Materials for Upcycling Projects
Choosing the right materials is crucial when upcycling furniture for beginners. I once tried using a low-quality paint for a project, and after just a few weeks, the paint started peeling off. This taught me that investing in quality materials can make a big difference in the longevity of your upcycled pieces. I now always make sure to use high-quality paint, primer, and sealants that are specifically designed for furniture. These products are usually available at local hardware stores and cost only a few dollars more than their cheaper counterparts.
Another important aspect of material selection is ensuring that the pieces you're using are in good condition. I once attempted to upcycle an old chair that had a broken leg, and I ended up having to completely replace the leg, which added both time and cost to the project. To avoid similar issues, I now always inspect the furniture I’m planning to upcycle before starting any work. If there are any structural issues, I address them early on to prevent complications later.
Also, I’ve found that using the right tools can make a big difference in the outcome of your upcycling projects. For example, using a high-quality brush for painting or a good pair of clamps for assembly can help you achieve a more professional finish. While some tools might seem expensive at first, I've found that investing in a few essential ones can save you time and money in the long run.
Before you begin any upcycling project, take the time to inspect the furniture thoroughly. Check for any structural issues, like broken legs or loose joints, and address them before moving forward.
“I still remember the first time I picked up a discarded wooden chair from the curb, its legs splintered and its paint peeling like old…”— Tinyremake editors
Related: Budget upcycling classes near me for beginners
Adding Personality with Decor and Accessories
After upcycling furniture for beginners, it’s important to add decor and accessories that reflect your personal style. I once painted a plain chair in a bold color, but it still felt a bit incomplete. So, I decided to add a few decorative cushions and a small throw blanket to give it a more finished look. This simple addition not only made the chair more comfortable but also gave it a unique, personalized feel that matched my home decor.
Another way to add personality is by using decorative hardware. I had an old dresser that I painted, and after adding new knobs, I decided to use some unique, vintage-style handles to give it a more eclectic look. These handles were a bit more expensive than the standard ones, but they made the dresser stand out even more. I found them at a local thrift store, and they were a great investment in terms of both style and quality.
I’ve also found that adding plants or other decorative items to upcycled furniture can make a big difference. I once placed a small potted plant on an upcycled side table, and it instantly made the space feel more inviting. The combination of the upcycled furniture and the natural elements of the plant created a harmonious look that felt both modern and cozy.
Related: Upcycling old clothes
Tips for Maintaining Upcycled Furniture
Maintaining upcycled furniture is just as important as the upcycling process itself. I once painted a table using a low-quality sealant, and after just a few months, the paint began to chip off. This taught me the importance of using the right sealant to ensure the furniture lasts. I now always use a high-quality sealant that is specifically designed for furniture, which helps protect the surface and extend its life. I’ve found that spending a bit more on quality sealants can save you a lot of time and money in the long run.
Another important tip is to avoid exposing upcycled furniture to direct sunlight or moisture for extended periods. I once placed a painted table in a sunny spot, and after a few weeks, the paint began to fade. To prevent this, I now make sure to place upcycled furniture in areas that are not directly exposed to sunlight or high humidity. If possible, I also use curtains or blinds to help regulate the amount of light the furniture is exposed to.
Finally, I’ve found that regular cleaning and maintenance can help keep upcycled furniture looking its best. I now make it a habit to wipe down my upcycled pieces with a soft cloth and mild cleaning solution once a week. This helps remove dust and dirt and keeps the surface looking fresh. I’ve also started using a furniture polish occasionally to give my pieces an extra shine and protect them from scratches and wear.
⭐ Classic
A timeless wooden chair with a natural finish.
💰 Budget
A cost-effective chair made from repurposed materials.
⚡ Extra-Fast
A quick and easy chair transformation for beginners.
✨ Depth
A chair with a more detailed and decorative finish.
🥗 Light
A chair designed for a more modern and minimalist look.
| The mistake | Why it happens | The fix |
|---|---|---|
| Using low-quality materials | Using low-quality materials can lead to a shorter lifespan for your upcycled furniture and may result in a less professional finish. | Invest in high-quality materials and sealants that are specifically designed for furniture. These products are more durable and will help ensure your project lasts longer. |
| Skipping the sanding step | Skipping the sanding step can result in a rough surface that is difficult to paint and may cause the paint to peel or chip over time. | Always take the time to sand the furniture thoroughly before painting. This will help create a smooth surface and ensure that the paint adheres properly. |
| Applying too much paint at once | Applying too much paint at once can lead to drips, runs, and an uneven finish. It can also make the paint take longer to dry and may result in a less professional look. | Apply the paint in thin, even layers and allow each coat to dry completely before applying the next. This will help ensure a smooth and even finish. |
| Not sealing the furniture properly | Not sealing the furniture properly can expose the painted surface to damage from moisture, sunlight, and wear. This can cause the paint to fade, chip, or peel over time. | Always apply a high-quality sealant after painting to protect the surface and extend the life of your upcycled furniture. This step is crucial for ensuring that your project looks its best for years to come. |
Materials & Tools tap to check off
- 1 chair old wooden chair
- 1 can primer
- 1 can paint
- 1 brush paint brush
- 1 sandpaper sandpaper (medium grit)
- 1 piece sealant
Method tap a step when done
- Inspect the chair for any structural issues and address them if necessary.
- Sand the chair thoroughly using medium-grit sandpaper to create a smooth surface.
- Wipe the chair down with a damp cloth to remove any dust or debris.
- Apply a coat of primer to the chair and allow it to dry completely.
- Paint the chair with two even coats of paint, allowing each coat to dry before applying the next.
- Once the paint is dry, apply a coat of sealant to protect the surface and extend the life of the chair.
Key Facts
Related: Upcycling clothes for beginners
Top Upcycling Furniture For Beginners
Related: Cheap small space upcycling
Common Questions
What are the best tools for upcycling furniture for beginners?
How long does it typically take to complete a simple upcycling project?
Can I use any type of paint for upcycling furniture?
What should I do if I'm not happy with the color after painting?
References
- Upcycling: Re-use and recreate functional interior space using waste materials (academia.edu)
- The upstart of upcycling - advocate.jbu.edu (advocate.jbu.edu)
- Household and agro-waste upcycling into sustainable unbreakable ... (apc.aast.edu)
- Recycling and value-added design of discarded wooden furniture (bioresources.cnr.ncsu.edu)
- Keeping Furniture Out of Landfills - Northwestern University (design.northwestern.edu)
Cite this guide
Tinyremake (2026). Top Upcycling Furniture For Beginners. https://tinyremake.com/top-upcycling-furniture-for-beginners/
Feel free to cite or share this guide.