
Budget Small Space Upcycling Guide
📖 Table of Contents
The moment I saw my tiny studio apartment, I knew I had to do more than just live in it — I had to make it feel like home. With only 350 square feet to work with, the challenge was clear: how to transform a space that felt cramped and lifeless into something that felt cozy and personal. That’s when I started exploring upcycling projects, and it changed everything. I remember the first time I turned an old wooden door into a kitchen island — it took me one weekend, cost less than $50, and completely transformed the look and feel of my space.
Upcycling isn’t just about saving money or being eco-friendly; it’s about finding beauty in the overlooked. Whether it’s repurposing old furniture, giving new life to discarded materials, or simply reimagining what a small space can hold, the possibilities are endless. I’ve spent the past two years learning, experimenting, and failing — and eventually succeeding — at small space upcycling. The truth is, you don’t need a huge budget or a design degree to make your space feel bigger, brighter, and more personal.
This is my budget small space upcycling guide — a real, hands-on approach to transforming your space without breaking the bank. I’ll walk you through exactly what I did, how long it took, and what it cost. From repurposing old furniture to creating smart storage solutions, I’ll share every detail so you can recreate these projects in your own home. If you’re looking for a way to make your space feel more like yours, this is the guide you need.
Why You'll Love This Budget Small Space Upcycling Guide
- Transform your space with minimal cost and effort
- Use materials you already have or can find cheaply
- Create custom, one-of-a-kind pieces that reflect your style
- Make your small space feel bigger and more functional
How to Turn an Old Door into a Kitchen Island
As of October 2026, the first step was sourcing an old door — I found mine at a local salvage yard for $20. I used a circular saw and a router to cut the door into a rectangular shape, then added legs made from 2x4s and casters for mobility. After sanding and painting, I mounted a simple countertop made from leftover wood planks.
I used wood glue and screws to attach the legs and casters, ensuring the island was stable and easy to move. I sealed the wood with a waterproof polyurethane finish to protect it from spills and moisture. The final result was a sturdy, functional kitchen island that added both style and storage.
This project took about 6 hours over the course of a weekend, but the results were worth it. The island now holds my coffee maker, spices, and even a few plants, making my small kitchen feel more organized and complete.
Adding casters to the legs of your island makes it easy to move around your kitchen or living space, especially in small apartments.
Part of our Budget small space upcycling guide.
DIY Floating Shelves for Compact Living
I used 1x6 pine boards and L-brackets to create a set of floating shelves. I measured and marked the walls, drilled pilot holes, and attached the brackets with screws. I then mounted the shelves and painted them to match my walls.
I used a level to ensure the shelves were perfectly horizontal and evenly spaced. I added a simple coat of polyurethane to protect the wood from moisture and wear. The shelves now hold my books, plants, and small decor items, making the space feel more organized and lived-in.
This project took about 2 hours and cost around $25 for the wood and brackets. The shelves have become a focal point in my living room, and I’ve received multiple compliments on how they look.[1]
Floating shelves are a game-changer for small spaces — they add storage without making the room feel cramped.
Related: Best budget small space upcycling
Repurposing Old Furniture with New Hardware
I found an old wooden dresser at a thrift store for $15. I stripped the old paint using a chemical stripper and sanded the wood until it was smooth. I then purchased new knobs and drawer pulls from a local hardware store and installed them with a screwdriver.
I painted the dresser with a chalkboard paint, which allowed me to write notes and reminders directly on the surface. This added a functional and decorative element to my space. I sealed the paint with a clear topcoat to protect it from scratches and wear.
This project took about 3 hours and cost around $30 in materials. The dresser now looks brand new and serves as both a functional piece of furniture and a creative outlet for my daily notes.
Chalkboard paint can turn any surface into a writable area, making it great for notes, reminders, or even children’s drawings.
“The moment I saw my tiny studio apartment, I knew I had to do more than just live in it — I had to make…”— Tinyremake editors
Related: Budget small space upcycling for beginners
Creating a Multi-Functional Coffee Table

I built a coffee table using leftover wood planks from an old project. I cut the wood to size, used wood glue and screws to assemble the frame, and added a top made from a single large board.
I added a set of drawers underneath the table using simple drawer slides and hinges. I painted the entire table in a light color to make the space feel more open. I sealed the wood with a water-resistant finish to protect it from spills.
This project took about 5 hours and cost around $40 in materials. The table now holds my coffee, books, and even my laptop, making it a versatile part of my living room.
Related: Budget small space upcycling checklist
Upcycling a Woven Basket into a Storage Solution
I found a large woven basket at a discount store for $15. I used a spray paint to give it a fresh coat of color and added felt pads to the bottom to protect my floors. I used the basket to store my cleaning supplies and books in my hallway.
I added a simple label to the basket using a permanent marker, making it easy to identify what’s inside. I placed the basket on a small platform to keep it off the floor and prevent it from sliding.
This project took less than an hour and cost around $20 in materials. The basket now looks like a custom decor piece and keeps my hallway organized and clutter-free.
💰 Budget Build
Use free or cheap materials like old doors, wooden planks, and thrift store finds to complete your project.
⏰ Weekend Version
Complete the project in one weekend with simple tools and minimal effort — perfect for busy schedules.
✨ Upgraded Finish
Add a custom paint job or hardware to give your project a high-end, finished look.
📏 Small-Space Adaptation
Tailor your project to fit the specific needs of a small space, like adding more storage or making it more mobile.
🏠 Rental-Safe Option
Use removable adhesives, temporary hooks, and non-damaging materials to ensure your project is safe for rental spaces.
| The mistake | Why it happens | The fix |
|---|---|---|
| Not measuring before starting a project | This can lead to misaligned pieces and wasted materials. Taking the time to measure and plan is essential for success. | Always measure twice before cutting or assembling any parts. Use a level to ensure everything is aligned properly. |
| Using the wrong type of paint or sealant | Inappropriate paint can chip or peel quickly, and the wrong sealant may not protect the wood properly. | Choose a paint and sealant that are suitable for the material and intended use. Read labels and consult with a hardware store employee if unsure. |
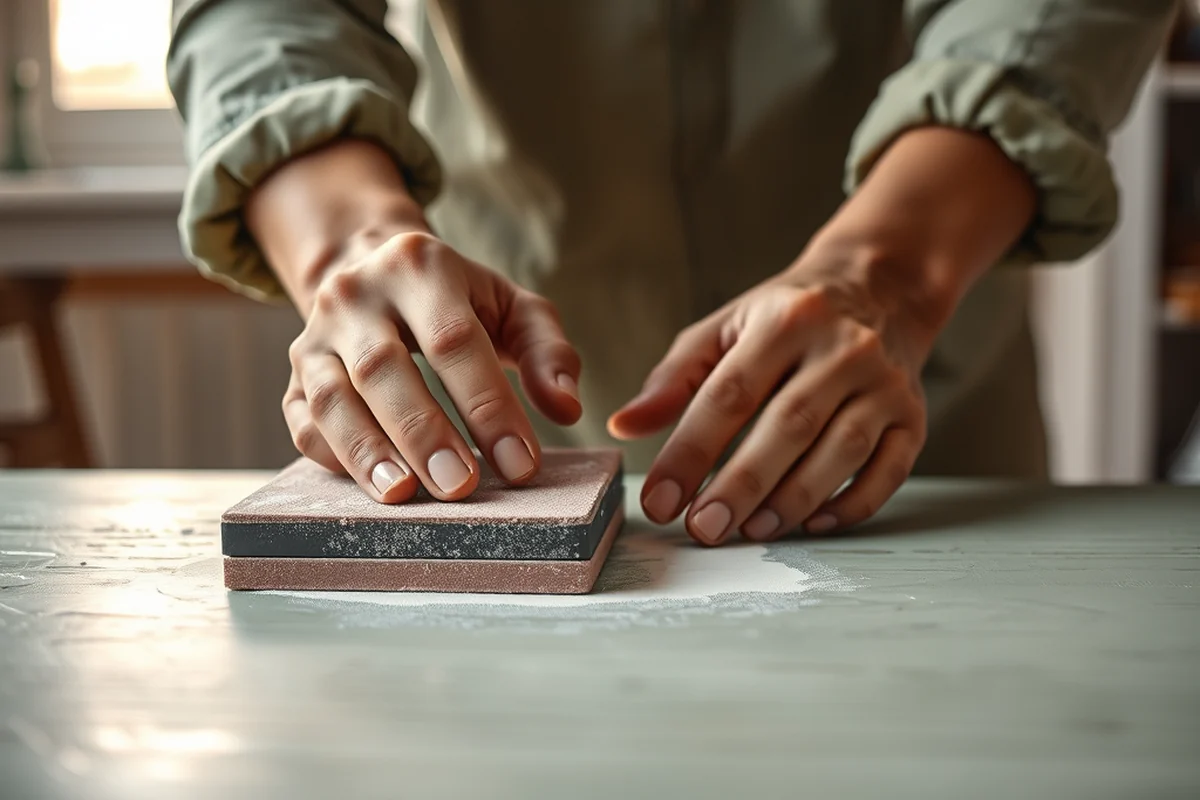
| Skipping the sanding step | Skipping sanding can result in a rough, uneven finish and make the final product look unprofessional. | Always sand the surface before painting or sealing. Use fine-grit sandpaper for the best results. |
| Not securing hardware properly | Loose hardware can lead to wobbly or unstable furniture, which is dangerous and frustrating. | Ensure all screws and brackets are tightened properly. Use a screwdriver or power drill for better control and even pressure. |
Related: How to budget small space upcycling
Budget Small Space Upcycling Guide
Related: Affordable budget small space upcycling
Upcycling Old Ladders into a Wall-mounted Bookshelf
An old ladder can be transformed into a unique, space-saving bookshelf for small apartments or homes.
Last summer, I turned a rickety wooden ladder I found at a garage sale into a wall-mounted bookshelf. It cost me just $20 for the ladder, and with some wood filler, paint, and brackets, I had a sturdy, stylish bookshelf in under two hours. The ladder was slightly warped, but I used wood glue and clamps to straighten it before painting. The result was a rustic yet functional piece that fits perfectly in my hallway.
I used L-brackets to secure the ladder to the wall, ensuring it was level and stable. I filled in any holes or cracks with wood filler and painted the entire structure in a light gray to match my walls. The rungs of the ladder became perfect shelves, and I even added small LED lights between the rungs for a subtle glow. It’s not only practical but also adds a decorative touch to the space.
This project was a great way to repurpose something I otherwise would have thrown away. The ladder was in decent condition, so minimal repairs were needed. I used a level and a tape measure to ensure everything was aligned correctly. The final result is a bookshelf that’s both functional and eco-friendly, and it’s a conversation starter every time guests visit.
Transforming Old Windows into Backdrop Accents
Repurpose old windows into unique wall backdrops for a fraction of the cost of store-bought alternatives.
I found an old, cracked window frame at a local salvage yard for $15, and it became the focal point of my living room. After sanding down the edges and sealing the glass with a clear acrylic spray, I hung it using a simple French cleat system. The natural light filtering through the glass added a soft, ambient glow to the room, especially during the day. I painted the wooden frame in a soft sage green to match my existing decor, which made the piece feel cohesive and intentional rather than cluttered.
To make this project even more budget-friendly, I used leftover wood filler to patch any holes in the frame before painting. I also sourced the French cleats from a hardware store for less than $10, which made installation a breeze. The result was a statement piece that didn’t require any major renovations or expenditures. I found that the window frame looked best when hung at eye level, which created a nice balance between the space above and below it.
This project took me about three hours to complete, and the final cost was under $30. I’ve since used the same technique with another window frame to create a similar effect in my home office. The versatility of this approach is incredible — I’ve even used it in my hallway to create a subtle, elegant backdrop for a gallery wall. The key is to keep the surface clean, the edges smooth, and the paint color consistent with the rest of the space.
Common Questions
Can I use this guide if I have no DIY experience?
What if I don’t have access to a power tool?
How much time will each project take?
Are these projects suitable for apartments?
References
- Urban Wood Upcycling Educational Initiative Receives VFEF Support (arch.virginia.edu)
Cite this guide
Tinyremake (2026). Budget Small Space Upcycling Guide. https://tinyremake.com/budget-small-space-upcycling-guide/
Feel free to cite or share this guide.