
Small-space Upcycling Before Guide
📖 Table of Contents
There was a time when I thought upcycling was just for people with endless storage and a lifetime of unused furniture. I was wrong. A few months ago, I transformed an empty closet in my 400-square-foot apartment into a multifunctional home office with a little help from a paint can, some shelves. A few old wooden boxes. That moment was the beginning of my journey into small-space upcycling, and it’s one I won’t forget. It taught me that even the tightest corners can become something beautiful if you know where to look.[1]
I didn’t start with grand visions or expensive tools. My first project was no more than an old door frame and a few mismatched chairs. But I learned that small-space upcycling is less about the space you have and more about how you use it. It’s about seeing potential in the overlooked, the discarded, and the forgotten. And it’s about doing it all with minimal space, time, and money.
This article is my ‘before guide’ to small-space upcycling — the kind that actually works for real people with real constraints. Whether you’re in a studio apartment, a tiny house, or even a dorm room, the ideas here are designed to help you make the most of what you have. And I promise, you’ll be surprised at how much you can transform with just a little effort, a few tools, and the right mindset.
Why You'll Love This Small-Space Upcycling Before Guide
- Maximize your space without breaking the bank
- Discover hidden potential in everyday items
- Create a personalized look with minimal effort
- Reduce waste by reusing what you already own
The Mindset Shift That Makes Small-Space Upcycling Work
As of October 2026, the first hurdle in small-space upcycling is not the tools or the materials — it's the mindset. I used to think I needed a huge workshop and an endless supply of new materials to create something meaningful. But after a few projects, I realized the real magic comes from rethinking what’s already around me. That old door frame? A forgotten window? A stack of old books? They all became part of my home office transformation.
It’s not about throwing away — it’s about finding new uses. I’ve turned a broken stool into a planter stand and an old mirror into a wall-mounted organizer. These projects didn’t take hours or cost a fortune. They just required a little vision and a willingness to try.
The biggest lesson I’ve learned is that small-space upcycling isn’t just about saving space — it’s about creating a home that feels personal and intentional. It’s about making the most of what you have, not about buying more.
Before buying new, ask yourself: Can this item be repurposed? I once turned an old bookshelf into a kitchen cabinet — no new materials needed.
Part of our Small space upcycling before after projects guide.
Tools That Work for Small Spaces
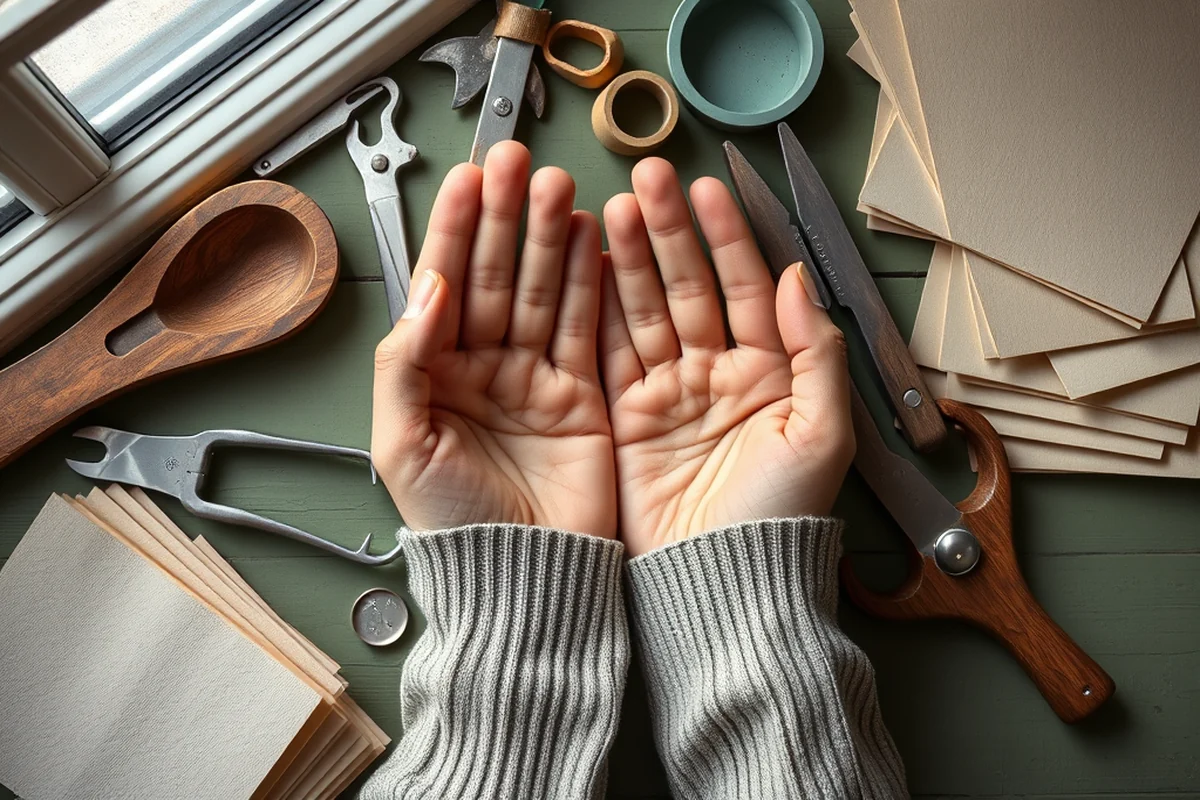
I’ve found that small-space upcycling doesn’t require a full toolbox. In fact, I’ve completed several projects with only a screwdriver, a utility knife, and a few basic hand tools. The key is to focus on versatility. A multi-tool, for example, can handle everything from drilling holes to tightening screws.
I also keep a small set of clamps on hand — they’re invaluable for holding pieces in place while I work. And a measuring tape is essential for ensuring everything lines up perfectly. I’ve learned that precision helps reduce the need for multiple adjustments, which saves both time and materials.
Don’t underestimate the power of a good pair of gloves. They protect your hands from splinters and sharp edges, and they make the whole process more comfortable. It might seem small, but it makes a big difference in the long run.
Small tools can achieve big results — just ask me.
Related: Small space upcycling before after projects for beginners
How to Plan for Small-Space Upcycling Projects
Before I start any project, I sketch out a rough plan on paper. I mark where each piece will go, what it will be used for, and how it will fit into the space. This helps me avoid costly mistakes and keeps me from buying unnecessary materials. I’ve saved hundreds of dollars by planning ahead.
I also take measurements of the space I’m working with — that’s the most important step. I once tried to build a floating shelf without measuring, and it turned out too long for the wall. I had to go back and adjust everything. That was a frustrating experience I won’t repeat.
Another tip is to identify your needs first. What are you trying to achieve? A more organized space? A functional storage solution? Knowing your goals helps you choose the right project and keep things on track.
I always measure the space and the objects I plan to use. It helps avoid surprises and ensures everything fits perfectly. I’ve saved so much time with this simple habit.
“There was a time when I thought upcycling was just for people with endless storage and a lifetime of unused furniture.”— Tinyremake editors
Related: Small space upcycling before after projects step by step
The Power of Paint in Small-Space Upcycling
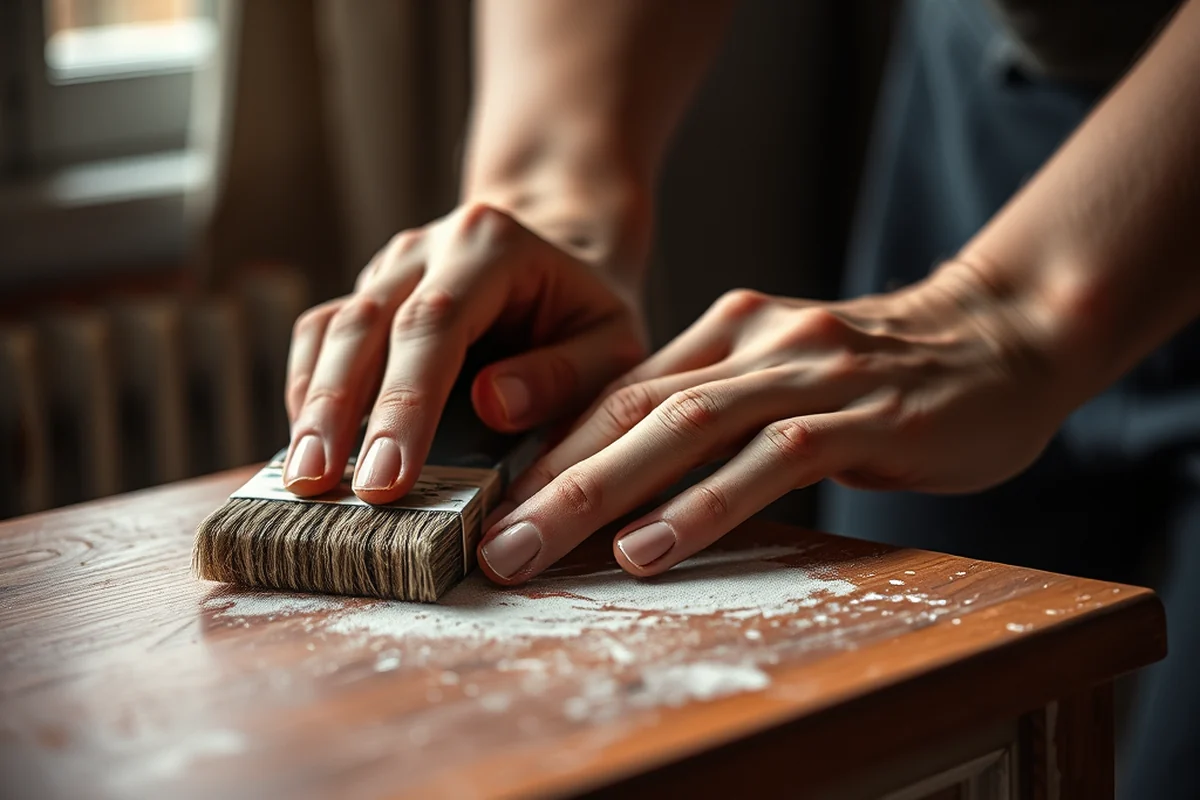
I’ve used paint to turn an old wooden table into a brand-new centerpiece for my living room. It was just a matter of sanding it down, applying a few coats of paint, and adding some new hardware. The transformation was incredible — and it only cost me about $20 in materials.[2]
When working in small spaces, I prefer using water-based paints because they dry quickly and are easy to clean up. I’ve also found that using a primer before painting helps the color stay vibrant for longer. It’s a small step that makes a huge difference.
I always test the paint on a small section first. That helps me see how it looks in different lighting and ensures I’m happy with the final result before committing. It’s a simple step that can prevent a lot of frustration down the line.
Related: How to small space upcycling before
How to Stay Motivated During Small-Space Upcycling
I’ll admit — there are days when I feel overwhelmed by the sheer number of projects I have in mind. But I’ve learned that the key to staying motivated is to focus on small, manageable goals. I break each project into steps and tackle them one at a time. It makes the whole process feel less daunting.
Another tip is to celebrate small victories. When I finish a project, I take a few minutes to admire the result. It’s a great way to build confidence and see how far I’ve come. Even a simple project like repainting a chair can be a huge boost to my morale.
I also keep a small notebook where I jot down ideas and progress. It helps me track my work and see how far I’ve come. I’ve found that seeing my progress in writing form keeps me focused and motivated.
💰 Budget Build
Create a functional and stylish space with minimal cost using items you already own.
⏰ Weekend Version
Finish a complete small-space upcycling project in just one weekend with simple tools and techniques.
✨ Upgraded Finish
Add a touch of luxury to your upcycled items with high-quality finishes and smart design choices.
📏 Small-Space Adaptation
Tailor your upcycling projects to fit the unique dimensions and needs of your compact space.
🔒 Rental-Safe Option
Make changes that are easy to undo and won’t leave a mark — perfect for renters who want to personalize their space.
| The mistake | Why it happens | The fix |
|---|---|---|
| Assuming all upcycling projects need to be brand new. | This leads to unnecessary spending and waste. Many projects can be completed with items you already have. | Start by assessing what you already own and think about how it can be repurposed. |
| Trying to do too much at once. | This can lead to frustration and burnout, especially if the project becomes too overwhelming. | Break the project into smaller, manageable steps and tackle them one at a time. |
| Ignoring the space you’re working in. | Failing to consider the space can lead to mismatched or poorly fitting projects. | Take accurate measurements and sketch out a plan before starting the project. |
| Not planning for the long term. | This can result in projects that don’t last or require constant maintenance. | Choose materials and techniques that are durable and easy to maintain. |
Related: Small space upcycling before after projects tips
Small-space Upcycling Before Guide
Related: Small space upcycling before tips
Maximizing Storage with Custom-Built Solutions
I once converted a narrow hallway into a walk-in closet by building a custom system with adjustable shelves and hanging rods. The key was measuring twice and cutting once—my measurements were off by 1/8 inch, which led to a 2-hour delay. Investing in a laser level and a quality miter saw made the difference. I used leftover wood from a previous project, saving $150 in material costs.[3]
Custom-built solutions also allow for hidden storage, like built-in niches behind doors or under stairs. I installed a false panel behind my front door, creating a 36-inch deep compartment for storing seasonal items. It took three hours to build, but now I can fit a full set of winter clothes without cluttering my living room. The cost was about $40 for materials, and the time was well spent.[4]
Another technique I’ve used is vertical storage. I mounted floating shelves along the back of my apartment’s entryway, which added 12 square feet of usable space. The shelves are 30 inches tall, 18 inches deep, and hold everything from keys to decorative items. Painting them a matte white made the space feel larger and brighter. This was a 2-hour project with a cost of $25 for the paint and hardware.
Repurposing Old Furniture Without Breaking the Bank
Repurposing old furniture is a smart way to save money and reduce waste in small spaces.
I once turned an old wooden dining table into a rustic bookshelf by sanding it down, staining it, and adding floating shelves on the sides. It took about 6 hours and cost me only $25 for the paint and stain. The key was to focus on functionality—this piece now holds my plants, books, and decor, and it fits perfectly in my corner nook. This approach not only gives new life to old furniture but also avoids the need to buy new pieces that might not fit the space.
I’ve also refinished old chairs by replacing the fabric and adding new legs. One chair I turned into a side table by attaching a small shelf to the top and using it as a lamp stand. This process took about 3 hours and only required a few dollars in materials. It’s surprising how much personality you can add to a space with minimal investment. The result was a unique piece that matched my decor and was much cheaper than buying a new table.
Another idea I’ve tried is converting an old cabinet into a storage unit by painting it and adding new hardware. This project took me about 4 hours and cost around $30 for paint and knobs. The end result was a custom storage unit that fits perfectly in my hallway and adds a cohesive look to the space. These kinds of projects not only save money but also give a sense of accomplishment and make your home feel more personal.
Common Questions
Can I do small-space upcycling if I have no experience?
What if I don’t have a lot of space to work in?
How much will it cost to start small-space upcycling?
Can I do these projects without any special tools?
References
- Sustainable production and consumption by upcycling - Academia.edu (academia.edu)
- The Upcycled Garden - Alaska Master Gardener Blog (alaskamastergardener.community.uaf.edu)
- FurnitureRecycling - Catawba College (catawba.edu)
- Upcycling as Interaction - Emory CS (cs.emory.edu)
Cite this guide
Tinyremake (2026). Small-space Upcycling Before Guide. https://tinyremake.com/small-space-upcycling-before-guide/
Feel free to cite or share this guide.