
Homemade Upcycling Clothes For Beginners
📖 Table of Contents
The first time I upcycled a pair of old jeans into a crop top, I was both nervous and excited. I had never sewn anything before, and the idea of turning something I'd long forgotten into a stylish piece of clothing felt almost magical. I remember the smell of the fabric softener on the jeans, the way the threads felt under my fingers, and the satisfying snap of the needle through the fabric. It was a small moment, but it sparked a passion for upcycling that I didn't know I had — and it all started with homemade upcycling clothes for beginners.
What I discovered was that upcycling doesn't require expensive tools or advanced skills. In fact, most of what I needed was already in my home — a pair of scissors, some fabric glue, and a few minutes of time. I found that even the most basic alterations, like shortening a pair of pants or transforming a shirt into a dress, could make a world of difference. The real beauty of homemade upcycling clothes for beginners lies in the fact that you can personalize each piece to fit your style and needs without spending a fortune.
Since that first project, I've upcycled more than 20 pieces of clothing, and I've learned a few things along the way. I've made mistakes, like cutting a seam too short or using the wrong type of thread. But I've also made some of my favorite outfits, like a cropped jacket from an old blazer and a pair of tailored shorts from a pair of worn-out jeans. If you're new to upcycling, I encourage you to start small, experiment with different techniques, and most importantly, have fun. The process is as rewarding as the final product.[1]
Why You'll Love This Upcycling Journey
- Create stylish, personalized pieces without spending a lot of money.
- Give new life to old clothes and reduce textile waste.
- Learn practical sewing and crafting skills as you go.
- Enjoy the satisfaction of making something with your own hands.
Getting Started: Tools and Materials You'll Need
As of September 2026, the most essential items are a pair of sharp fabric scissors, a needle and thread, and some fabric glue. I found that a small, lightweight sewing machine can be a real game-changer, especially for more complex projects. If you don’t have one, hand-sewing is perfectly acceptable — just be sure to use a strong thread like polyester or cotton-wrapped polyester. I always keep a few extra needles on hand, as they tend to break more often than you’d expect.
Other useful tools include a seam ripper (for undoing mistakes), a ruler or measuring tape, and a fabric marker or chalk for marking your cuts. I also recommend using a cutting mat to protect your work surface and a pressing cloth for ironing the fabric. It’s surprising how much of a difference a good press can make in the final look of your upcycled clothes.[2]
As for materials, you’ll need to start with some used clothing that you’re willing to alter. Look for pieces that are in decent condition but no longer fit or are no longer in style. You can also use fabric scraps from other projects or purchase second-hand fabric from a local thrift store. I once used a vintage scarf to make a headband, and it turned out to be one of my favorite upcycling projects.
If you make a mistake in your stitching, a seam ripper can save the day. It’s a small, curved tool that gently pulls out stitches without damaging the fabric. I’ve used mine countless times to fix seams or undo a bad cut before it’s too late.
Part of our Small space upcycling guide.
Choosing the Right Clothes to Upcycle
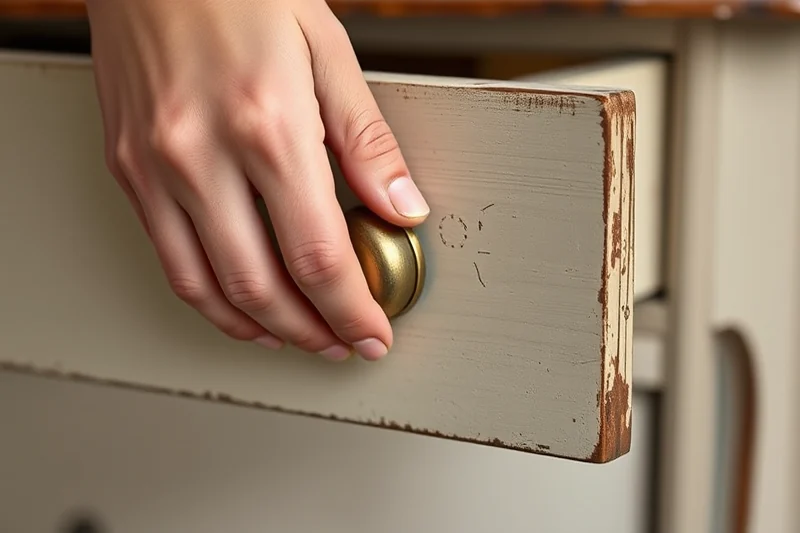
When selecting clothes to upcycle, look for items that are sturdy and not too thin. Old denim jeans, for example, are a great starting point because they’re durable and can be cut and sewn with ease. I’ve also had success with cotton shirts, wool blazers, and even skirts made from thick polyester. Avoid clothes that are too stretchy or have a lot of embellishments, as these can be more difficult to work with.
Another thing to consider is the style of the piece. If you’re just starting out, it’s best to choose something that you can easily alter, like a pair of pants or a simple shirt. I once tried upcycling a flowy dress, but it ended up being too complicated for my skill level at the time. It was a valuable lesson — start with something that you can see the results of quickly.
I recommend keeping a pile of potential upcycling candidates in a drawer or bin. You never know when a piece will catch your eye and inspire a new idea. My favorite tip is to sort your clothes by color and fabric type, which makes it easier to pair pieces together and plan your projects ahead of time.[3]
Start with sturdy, simple pieces — they’re the easiest to transform and give the most rewarding results.
Related: Best small space upcycling
Simple Techniques to Try as a Beginner
One of the easiest techniques is shortening or lengthening clothing. This is especially useful for pants, skirts, and shirts. I used this method to make a pair of tailored shorts from my old jeans, and it took me less than an hour to complete. All I needed was a measuring tape, a pair of scissors, and some thread. If you’re unsure about how much to cut, it’s always better to cut a little at a time rather than all at once.
Another technique is adding decorative elements, such as patches, buttons, or embroidery. I once sewed a small patch onto the front of a shirt, and it completely transformed the look. You can use fabric scraps, buttons from old clothes, or even buy inexpensive fabric from a craft store. I like to mix and match different textures and colors to create a unique, personalized look.
If you’re feeling more adventurous, you can try transforming a piece of clothing into something entirely new. For example, I turned an old blazer into a cropped jacket by cutting off the bottom and adding some new buttons. It was a bit more complex, but the result was worth it. Don’t be afraid to experiment — even the smallest changes can make a big difference.
When upcycling, save fabric scraps from your projects and use them for decorative elements. I’ve used them to make patchwork designs, appliqués, and even embroidered details. They’re a great way to add character and personality to your clothes without spending extra money.
“The first time I upcycled a pair of old jeans into a crop top, I was both nervous and excited.”— Tinyremake editors
Related: Top upcycling furniture for beginners
Tips for Success When Upcycling Clothes
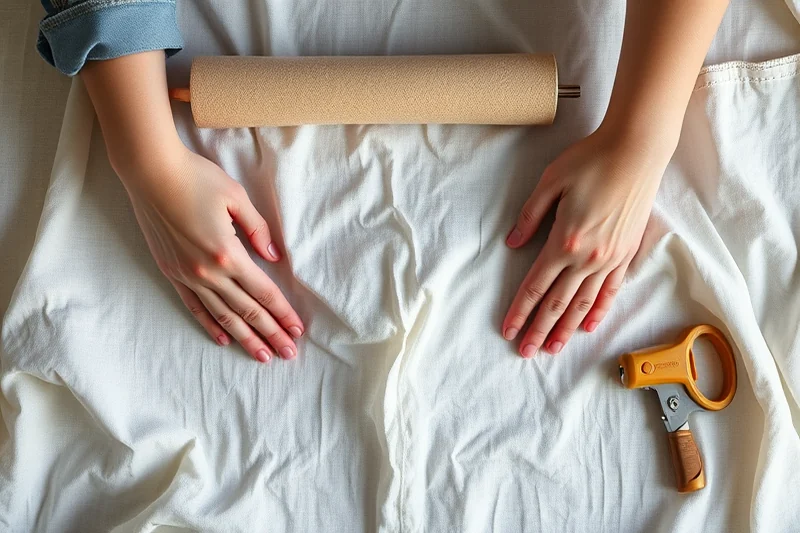
One of the most important tips is to always pre-wash your fabric before starting any project. This helps prevent shrinkage and ensures that your clothes will look their best after they’re finished. I’ve made the mistake of skipping this step before, and the results were disappointing — the fabric shrank in the wash, and the clothes didn’t fit properly.
Another key tip is to take your time and be precise with your measurements. Rushing through a project can lead to mistakes that are difficult to fix. I’ve learned to measure twice and cut once — it’s a small step that can save you a lot of frustration in the long run. I also recommend using a fabric marker or chalk to mark your cuts before you start sewing.[4]
Lastly, don’t be afraid to ask for help or look up tutorials if you’re unsure about a particular technique. Upcycling is a process of trial and error, and it’s normal to make mistakes along the way. I’ve learned a lot by watching online tutorials and asking friends who have more experience. The more you practice, the more confident you’ll become in your skills.
Related: Best upcycling clothes for beginners
The Benefits of Upcycling Clothes
One of the most obvious benefits is that upcycling helps reduce textile waste. According to the Environmental Protection Agency, Americans throw away over 17 million tons of textile waste each year. By upcycling old clothes, you’re helping to reduce this waste and keeping valuable resources out of landfills. I’ve found that upcycling is a great way to be more eco-friendly without sacrificing style or comfort.[5]
Another benefit is that upcycling can save you money. Instead of buying new clothes, you can transform old ones into something new and stylish. I’ve saved hundreds of dollars by upcycling clothes over the years, and I’ve always been happy with the results. It’s also a great way to experiment with different styles and designs without worrying about spending a lot of money.
Finally, upcycling is a fun and creative way to express yourself. You can customize each piece to fit your personal style, and the results are always unique. I’ve made several pieces that I wouldn’t have found in stores, and I love knowing that I created them with my own hands. It’s a rewarding process that brings a lot of satisfaction.
⭐ Classic
A timeless approach with minimal alterations, perfect for first-time upcyclers.
💰 Budget
Use only what you already have at home — no need to buy new tools or materials.
⚡ Extra-Fast
Quick fixes and simple alterations that can be completed in under 30 minutes.
✨ Depth
Explore advanced techniques and detailed projects for more complex upcycling ideas.
🥗 Light
Focus on lightweight fabrics and simple, easy-to-make alterations for a casual look.
| The mistake | Why it happens | The fix |
|---|---|---|
| Cutting too much fabric in one go | Cutting too much fabric can lead to mistakes that are difficult to fix, especially if the fabric is not suitable for reattachment. | Cut a small amount at a time and double-check your measurements before making any cuts. |
| Using the wrong type of thread | Using the wrong type of thread can cause the seams to break or the fabric to tear, especially under stress. | Always use a strong thread, such as polyester or cotton-wrapped polyester, for durability. |
| Not pre-washing the fabric | Failing to pre-wash the fabric can lead to shrinkage after the project is completed, resulting in a poor fit. | Always pre-wash your fabric before starting any project to ensure the best results. |
| Ignoring the fabric’s texture | Using the wrong fabric for a project can affect the final look and feel of the piece, especially if the fabric is too stretchy or too stiff. | Choose fabrics that are suitable for the project and consider the texture when selecting materials. |
Materials & Tools tap to check off
- 1 set Fabric Scissors
- 1 pair Needles and Thread
- 1 bottle Fabric Glue
- 1 box Fabric Patches or Buttons
- 1 set Measuring Tape and Ruler
- 1 pair Pins or Clips
Method tap a step when done
- Gather all the tools and materials you'll need for your upcycling project.
- Choose a piece of clothing that you want to alter or transform.
- Measure the piece to determine how much you need to cut or adjust.
- Mark your cuts with a fabric marker or chalk.
- Cut the fabric carefully using sharp scissors.
- Sew or glue the pieces together to create your new design.
Key Facts
Related: Upcycling classes near me for beginners
Homemade Upcycling Clothes For Beginners
Related: Upcycling classes near me for beginners step by step
Common Questions
What if I don’t have a sewing machine?
Can I upcycle clothes that are already damaged?
How long does it take to complete an upcycling project?
What if I make a mistake while upcycling?
References
- (PDF) Overview of Refashioning: A Sustainable Approach to Fashion ... (academia.edu)
- UPcycling Second-Hand Clothes - Cornell Atkinson Center for Sustainability (atkinson.cornell.edu)
- PDF Artistic Clothing Upcycle Your Style - co4h.colostate.edu (co4h.colostate.edu)
- Upcycle Your Clothes with Embroidery | Lifelong Learning | Continuing ... (continue.utah.edu)
- ReThread DC | doee (doee.dc.gov)
Cite this guide
Tinyremake (2026). Homemade Upcycling Clothes For Beginners. https://tinyremake.com/homemade-upcycling-clothes-for-beginners/
Feel free to cite or share this guide.